
Runvia - Going Metal #1

To say I was neurotic in regards to body/aero choices would be the understatement of the century. Even my wife can’t keep up with my constant flip-flopping on decisions. With that being said, something I’ve always wanted to do was weld-on flares. However, I don’t have the skill (or equipment) to make them from scratch and didn’t have faith that “universal” flares would look right.
Then I started seeing cars with Ulterior Motive flares pop up on Facebook and Instagram and they looked better than the universal flares I’d looked at previously. Eventually, I came across this build thread on Zilvia.net:
https://zilvia.net/f/showthread.php?t=672908
The user koukis13 (who’s real name is Tony, I believe) was running the Ulterior Motive SV2 flares in the front and rear and included some really good Youtube videos of the install. After some messaging I found on the fronts he used were just standard 1.5” SV2, but the rears were actually custom sized 2” SV2.
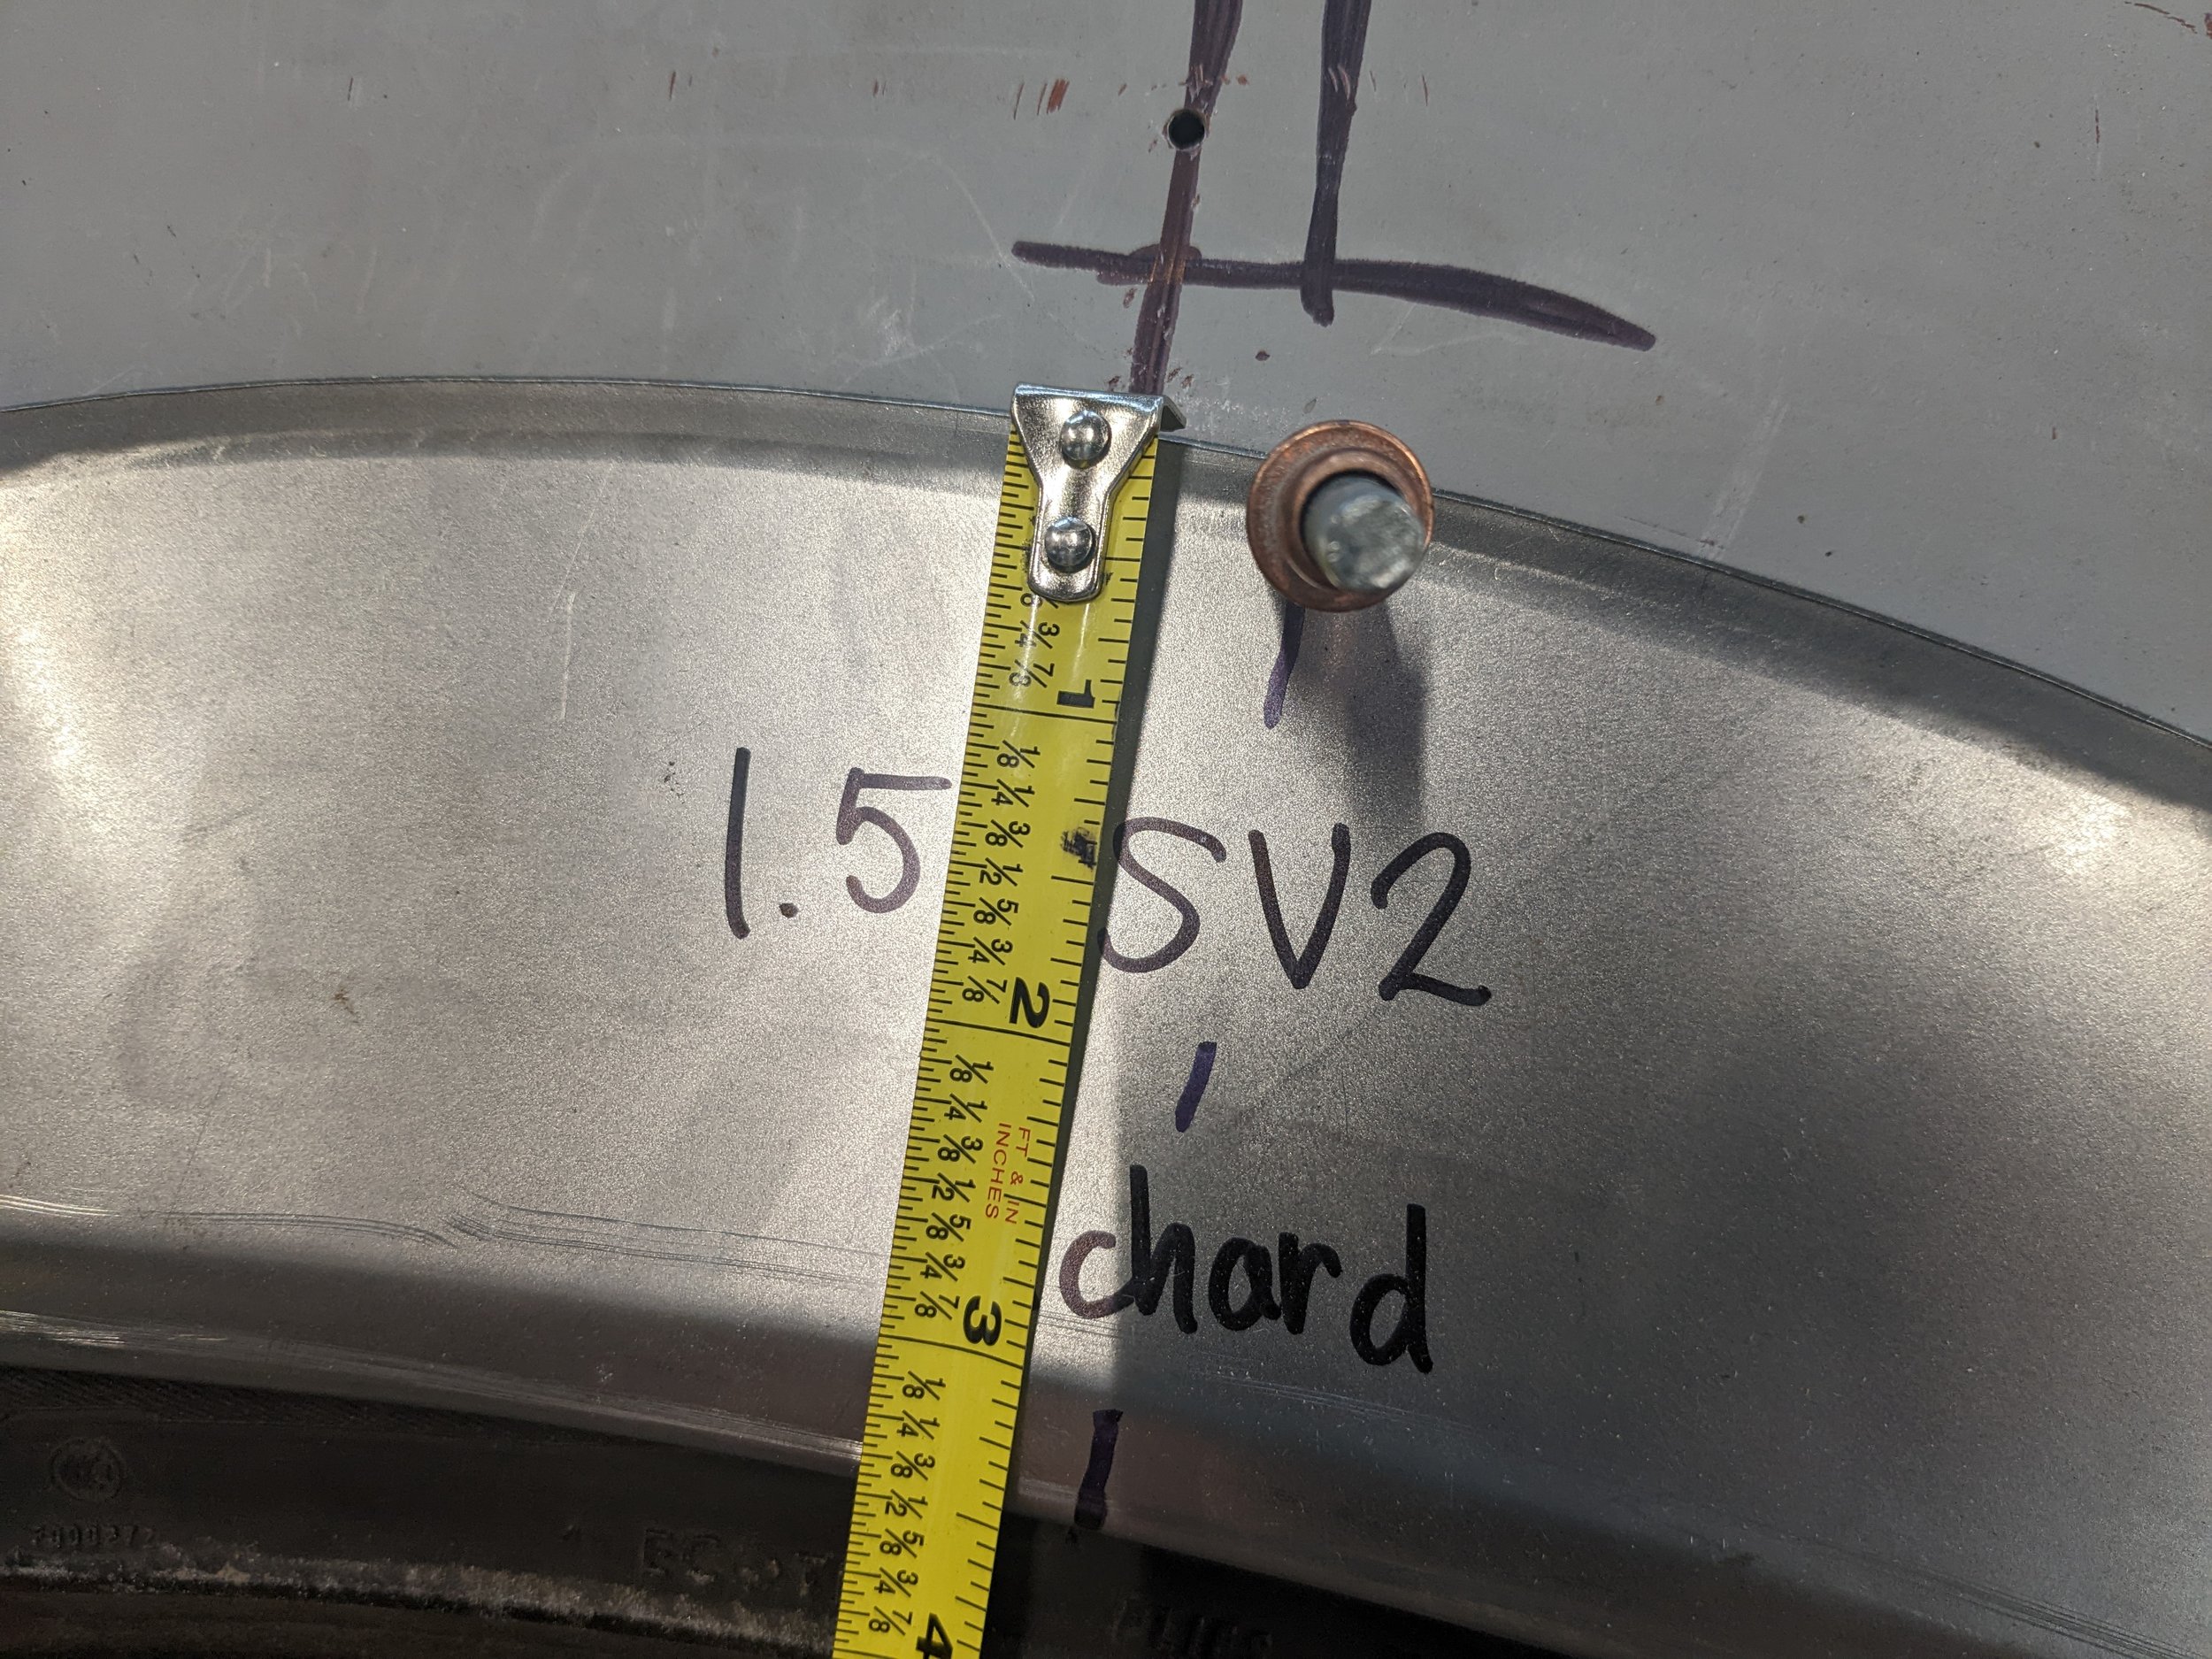
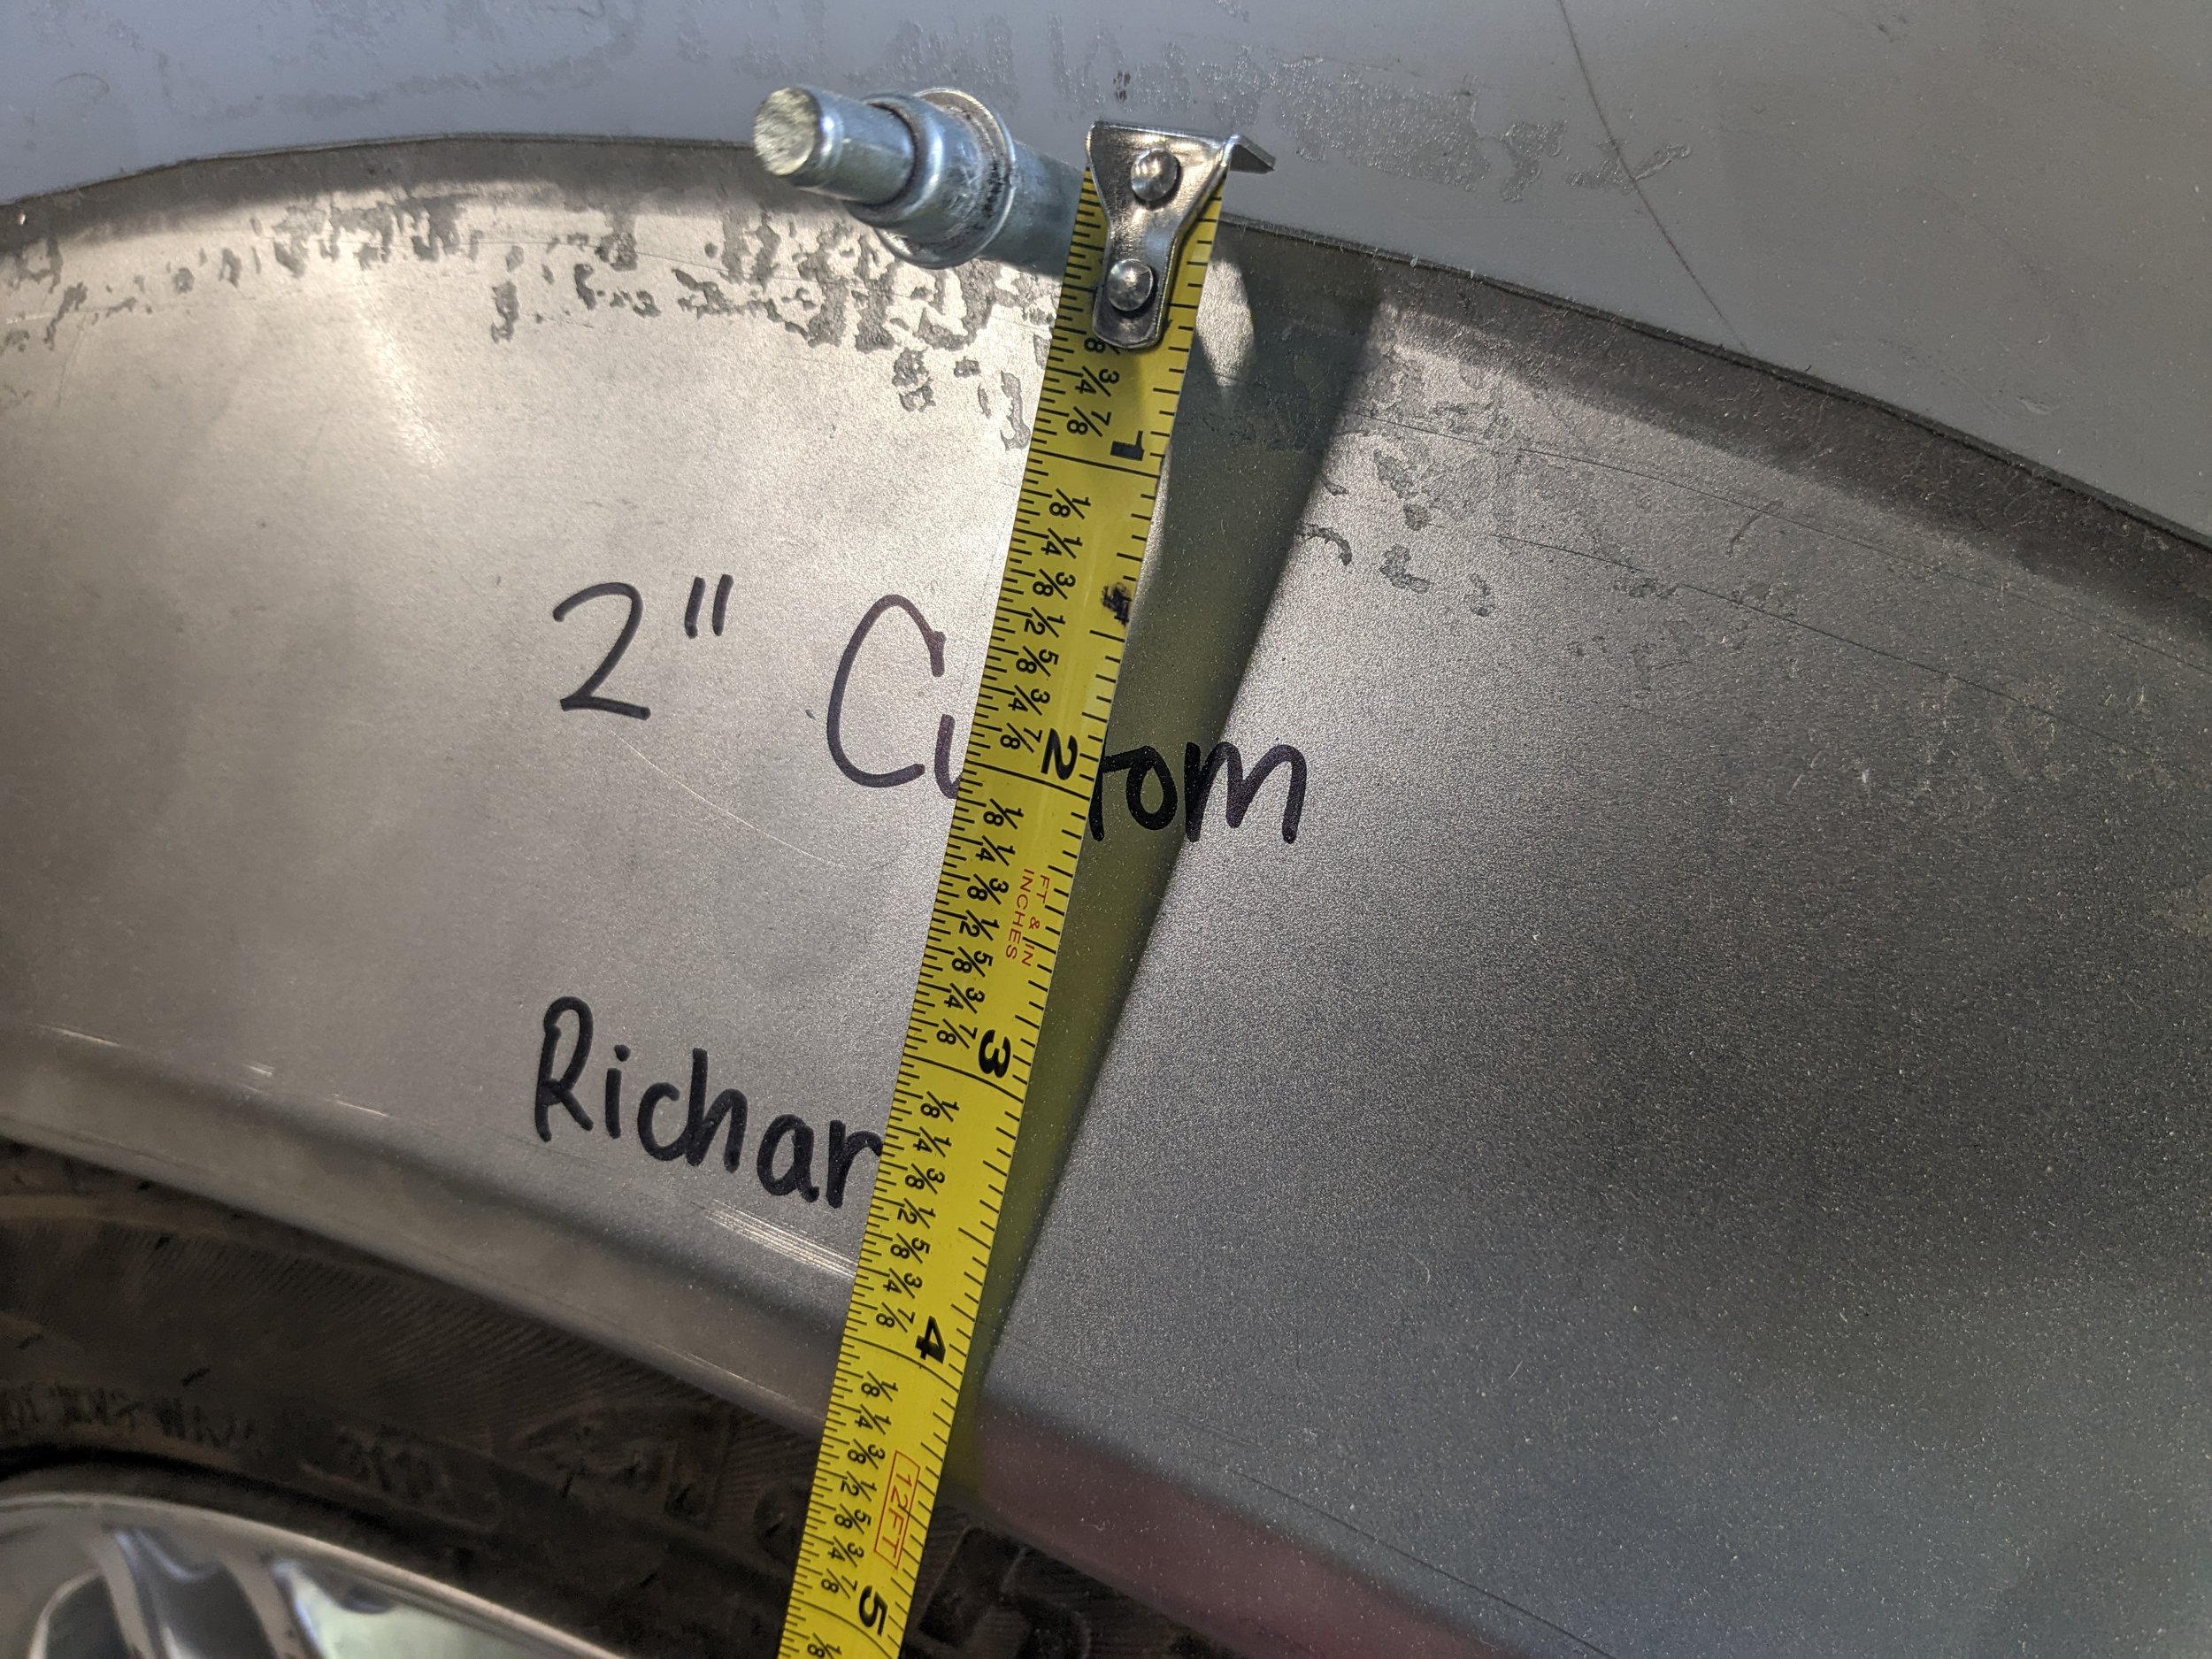
The standard SV2 I used up front are 3.5” tall from lip to lip at the center and the ID of the base is 28”. The custom SV2s in the rear are actually 4.6” tall from lip to lip at the center with a base ID of 27”. If you ran standard SV2s in the rear they would be too wide at the base and not tall enough.

I contacted Ulterior Motives and they were happy to send me flares with the same custom specs. Production time is 3-4 weeks, but I had mine within 3 weeks.

I did a quick test fit with some aluminum tape to figure out how I high wanted them to sit. Satisfied, I pulled out the drill and some cleco fasteners and got them securely attached. I’m running some pretty big tubs up front so I have a ton of room, which let me place the flares a higher than factory arch, which should let me get the car pretty low without having to tuck rim.
The picture above is an 18x9.5+20 with 215/40s and no spacer. I have a Yuramode angle kit and can go lock to lock without hitting anything but the tension rod. I’m using a straight D-Max rod right now so switching to a curved one should resolve that. I’m also going to be running a 17” wheel up front so I don’t expect to have any issues.
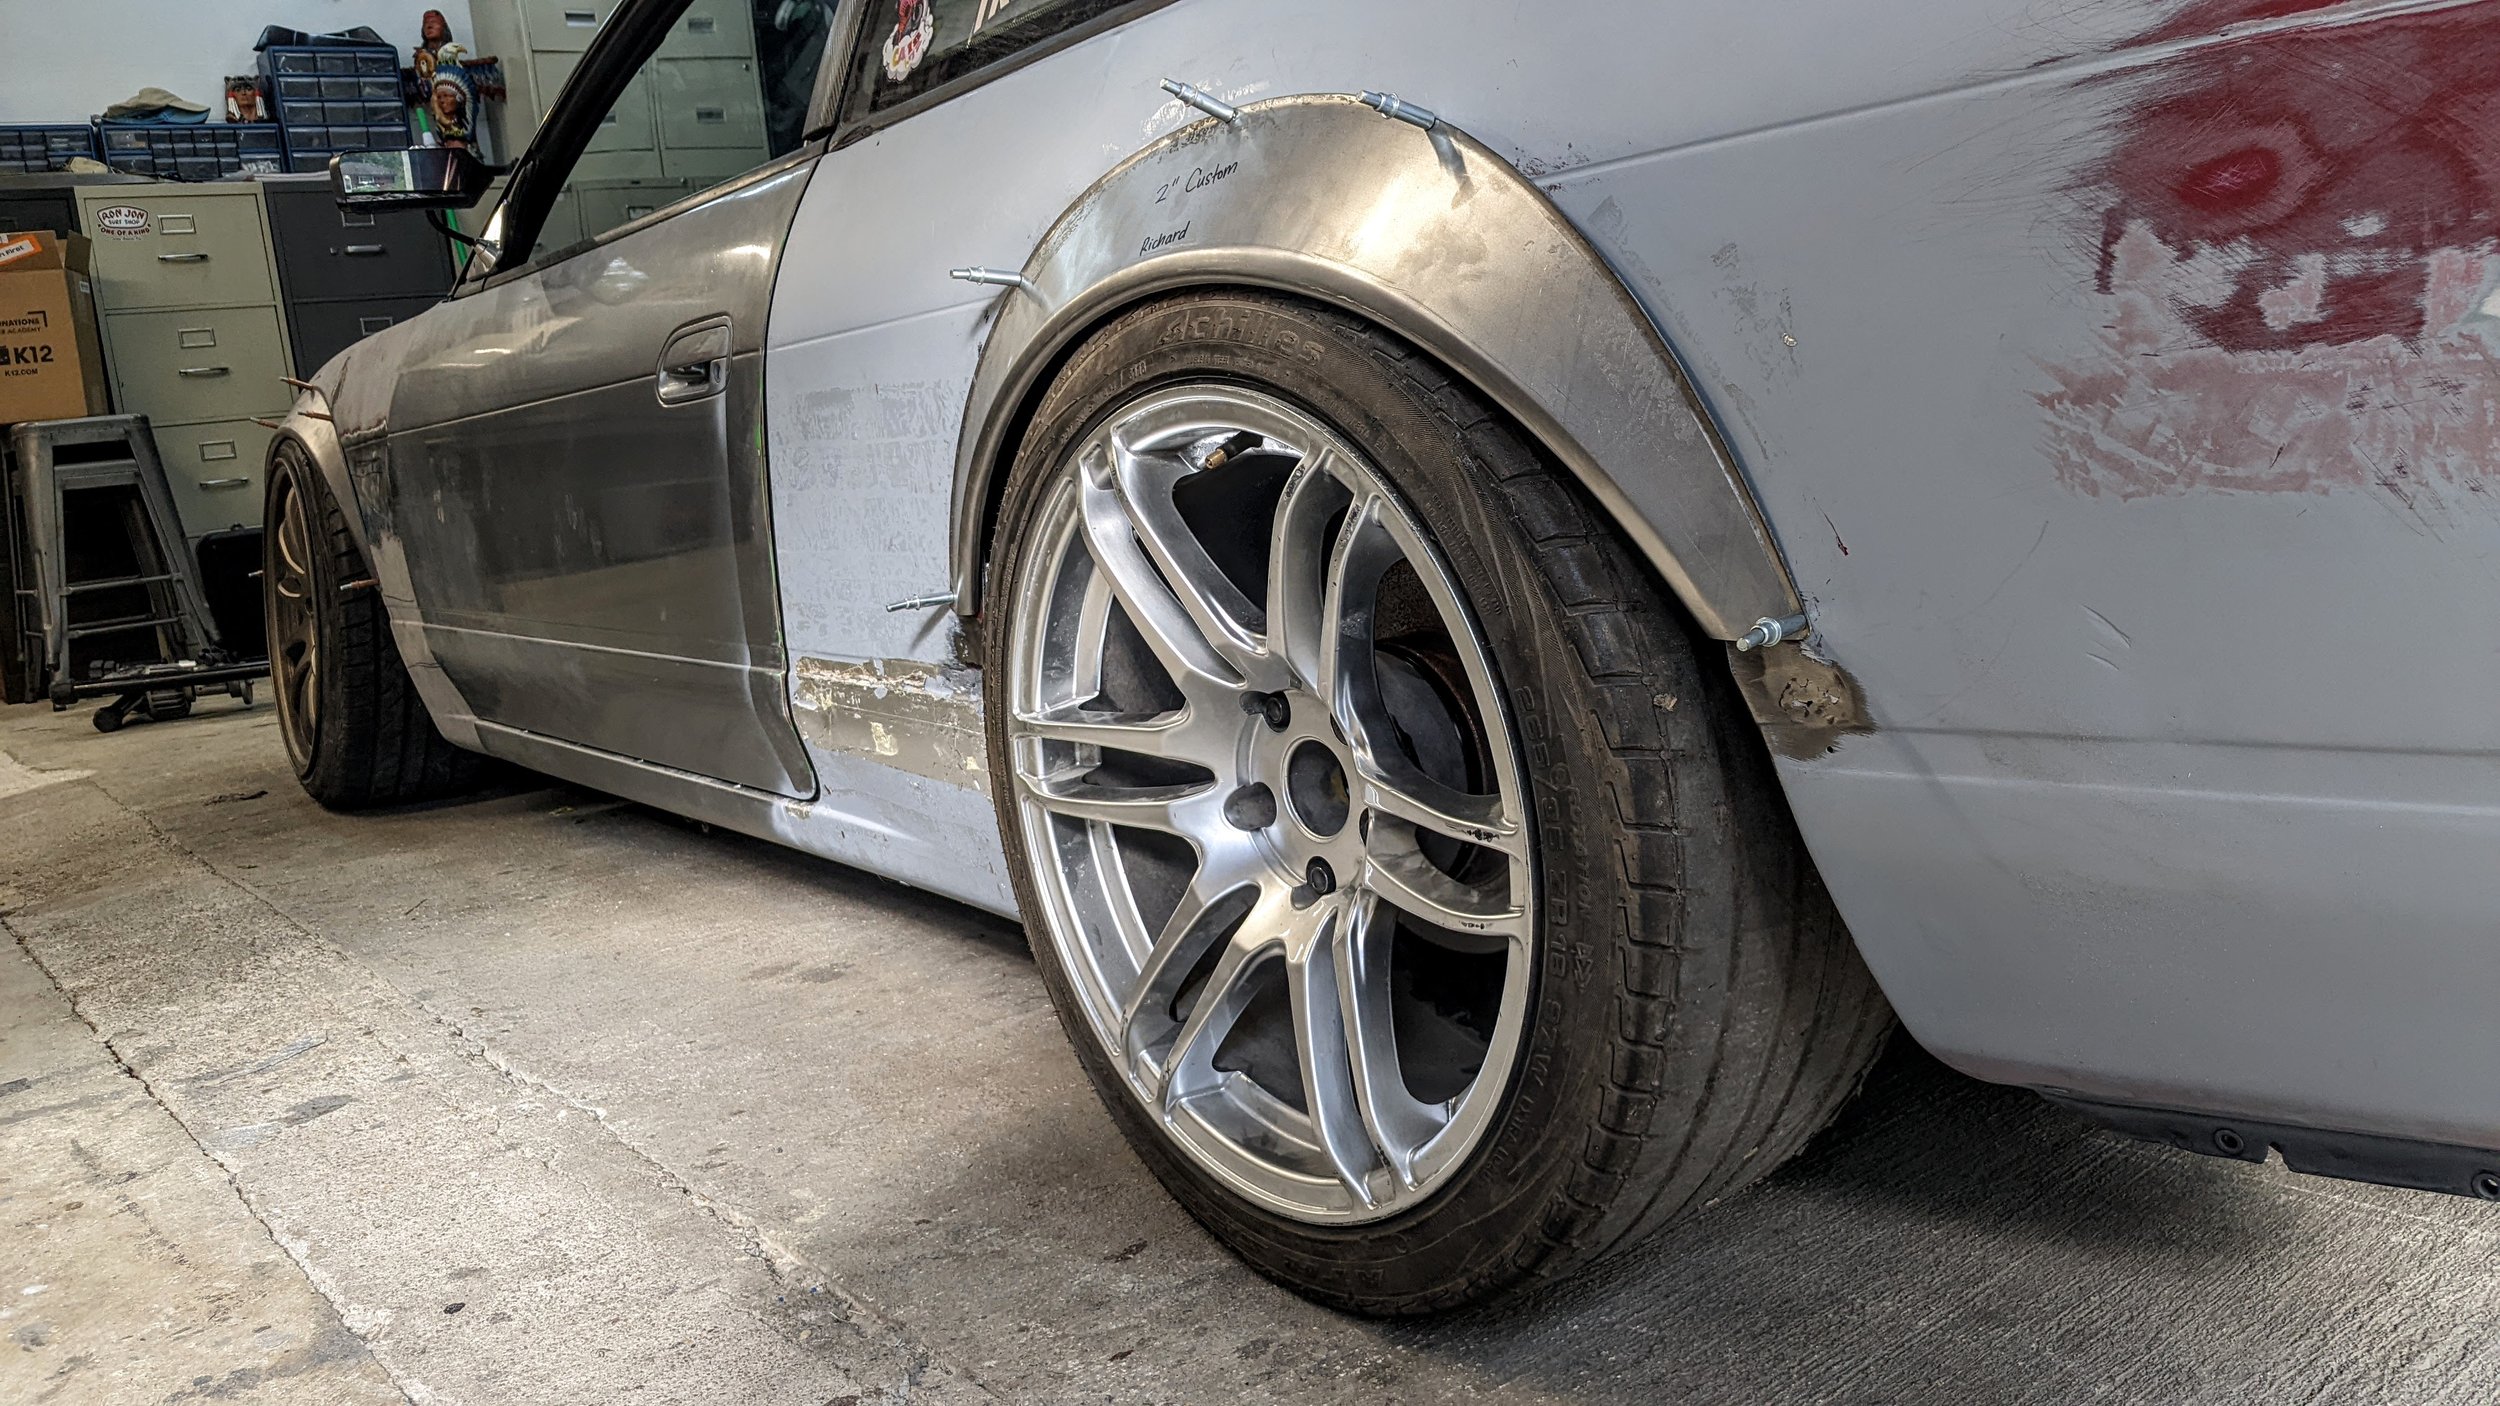
It was a bit more work to get the rears in place, mostly due to my coilovers. The picture above is literally as low as they’ll go. I have Tein Drift Masters up front, but the rears are HKS Performers, which aren’t designed to go low with. I’ll need to swap them out soon. For now, I managed to get it low enough to figure out where the flare should go.
The wheel is a 18x9.5+15 with 265/35s, no spacer and camber should be right around zero. Rear fitment is going to be a breeze on 235s. I actually tubbed the rear fenders too so I have plenty of room to go lower. I just need coilovers that can do it without sacrificing all stroke.

The rear definitely needs to come down at least an inch and the front will come down a bit once I get a 17 up there. For now I feel like I have the flares in the right place.

The next step is to pull them off and get the metal prepped for welding. For years, I’ve been using a Harbor Freight MIG, which I’ve gotten my money out of for sure. However, it’s not great at welding thin body panels without blowing through. I decided it was time to upgrade before welding these flares on and I want to increase my fabrication potential so I’m shopping for a new welder as we speak…